You are reading a post from a multi-part series of articles
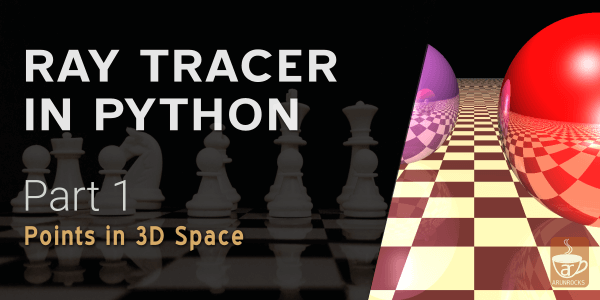
- Ray Tracer in Python (Part 1) - Show Notes of "Points in 3D Space"
- Ray Tracer in Python (Part 2) - Show Notes of "Revealing the True Colors"
- Ray Tracer in Python (Part 3) - Show Notes of "3D Balls in 2D Space"
- Ray Tracer in Python (Part 4) - Show Notes of "Let there be light"
- Ray Tracer in Python - Show Notes of "Ray Tracing a Coronavirus"
- Ray Tracer in Python (Part 5) - Show Notes of "Some Light Reflections"
- Ray Tracer in Python (Part 6) - Show Notes of "Firing All Cores"
I’m really excited to start a new video tutorial series on creating a ray tracer from scratch. This a set of intermediate-level Python tutorials. Recently realtime ray tracing became a hot topic in the gaming community after various Minecraft Ray tracing videos started popping up. Of course, you need a monster of a machine to get decent framerates. However, we will be making an non-realtime ray tracer entirely in Python.
These are the topics we will cover in this episode:
- Introduction
- Who should watch this tutorial?
- What will you cover?
- Ray tracing in a Nutshell
- Getting Familiarized with my Emacs
- First sub-problem: Points in 3D Space
- Coding the solution
- TDD (Test Driven Development)
- Data Structures
- 3D Vectors
Here is the video:
Code for part one is tagged on the Puray Github project
Show Notes
Books I recommend for learning Python:
- Learn Python 3 the Hard Way For a hands-on approach
- Learning Python, 5th Edition More detailed intro
- Official Python Tutorial A quick tutorial for programmers
Some links to learn the Vector math I cover, in more detail:
- Vector Math for 3D Computer Graphics Excellent free tutorial
- 3D Math Primer For Graphics and Game Development
- Khan Academy on Linear algebra
Note: References may contain affiliate links
A Dream Forever in Making
I have been forever interested in Computer Graphics since creating computer games is what really got me interested in programming (or “coding” as it is the fashionable term now). In early days, ray traced images used to blow my mind compared to the blocky graphics that 3D games generated.
But trying to learn the algorithms was frustrating for two reasons - the mathematics seemed too dense and it took a really long time for each render. In 2015, I spent a weekend playing with various algorithms to create a simple ray tracer in Python by heavily leveraging NumPy.
Wrote a toy raytracer over the weekend in Python and NumPy. ~200 lines. Render time about 10 mins. Shiny ✨😆 pic.twitter.com/ar0GDGXCWh
— Arun 'Rocks' Ravindran (@arocks) April 12, 2015
I felt the NumPy parts looked “un-pythonic”, so I reimplemented it without NumPy. It hit a sweet spot between functionality and readability. You needn’t be a math guru to figure out how it worked. I had to share what a learnt not because there was a lack of ray tracing tutorials but I wanted to make an accessible tutorial with gentle learning curve.
However the process of creating video tutorials have changed over the years. Gone are the days of a simple screen recording or screencasts. Now we have to have slick intros, animations and click-baity thumbnails with a face overlay having a shocked expression. But honestly I am in awe of how much time people spend on making each video (it is way, way more than you think) and how frequently they make them (“new video every week”).
The challenge is even harder when you need to break down all that math and physics behind computer graphics into simple concepts in a logical flow. That also takes way more time than you would expect. Sometimes you find that one clear diagram would explain an idea perfectly but nobody has made one so far so you need to draw a fresh one. Or you need to cut down your explanation because listeners are getting lost in the details. Plus your real life slows you down with work deadlines and goof ups like out of focus video recordings. This process of iterating until my script (and code) became streamlined took me months.
My approach has always been about posting higher quality stuff at low frequencies. So I am happy if the end result was worth the wait (and I hope it is). This could be a tutorial that might outlive many of my other videos and that is satisfying in itself. Hope you’ll enjoy this journey with me as much as I did.
Check back for part 2 (EDIT: it is out)!